
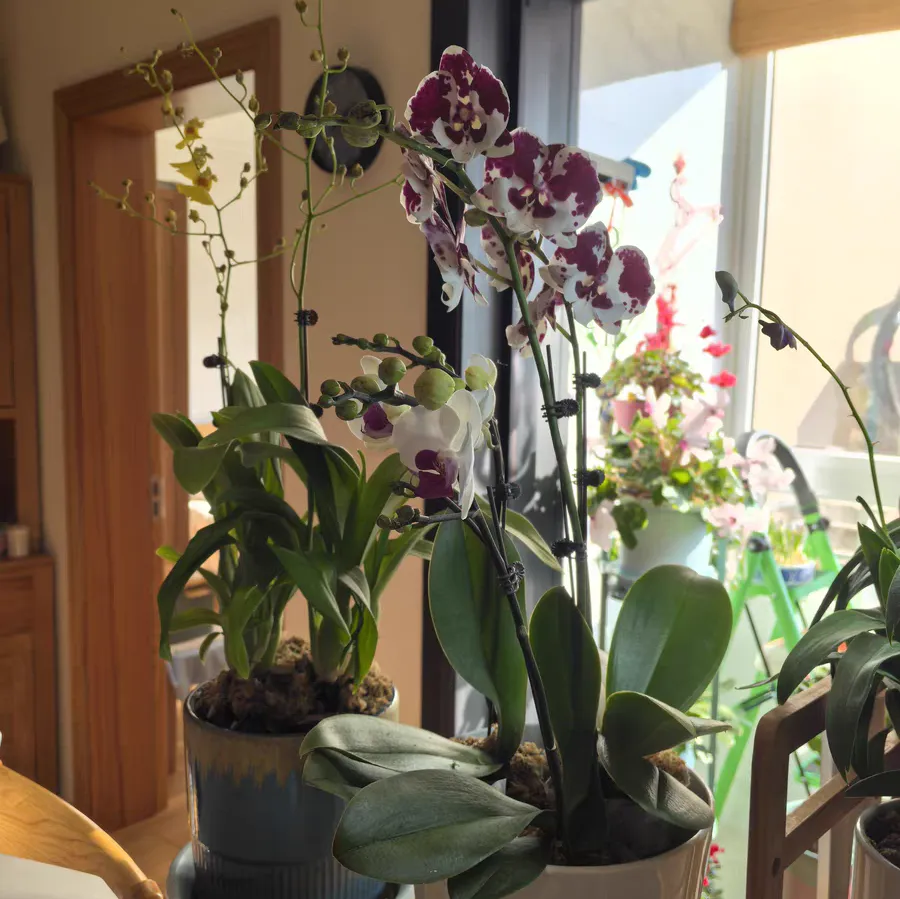
Today, I'd like to share with you the method of repotting Phalaenopsis orchids with sphagnum moss. Even beginners can easily complete the task of repotting Phalaenopsis orchids with sphagnum moss.
**I. Removing from the Pot and Cleaning**
Gently tap the edge of the flower pot. Insert a bamboo stick along the inner wall of the pot to loosen the soil, and then slowly take out the plant. If the old sphagnum moss is compacted, you can soak the roots in warm water for 5 minutes to soften it, and then use tweezers to gently peel it off along the growth direction of the roots to avoid pulling the young shoots and root tips. Wash the roots with warm water at about 30°C to clean off the remaining debris of sphagnum moss and insect eggs, which is convenient for observing the health status of the roots.
**II. Root Trimming and Disinfection**
Trimming criteria: Retain healthy roots; rotten roots, hollow roots, and dead roots should be cut clean from the base. The tools need to be disinfected with alcohol to avoid cross-infection.
Sterilization soaking: Soak the roots in a 1000-fold solution of carbendazim for 15 minutes, focusing on submerging the trimmed wounds. After taking them out, hang them upside down in a ventilated place to dry for 1 to 2 hours until there are no water droplets on the surface and the roots are slightly soft.
**III. Treatment of Sphagnum Moss and Flower Pot**
Treatment of sphagnum moss: Soak it in clean water for 20 minutes, take it out and wring it until it is in a state of "not dripping when held and loose when gently pinched", and pick out the impurities; the old sphagnum moss needs to be boiled in boiling water for 10 minutes for sterilization before use.
Selection of flower pot: It is preferred to choose a transparent root-controlling pot or a ceramic pot. The diameter of the pot mouth should be 1-2 cm larger than the roots. Spread 3 cm of ceramic pellets or foam blocks at the bottom of the pot to enhance drainage.
**IV. Potting Techniques**
1. Filling the Center with Sphagnum Moss: Take a ball of sphagnum moss the size of a walnut and stuff it into the gap in the center of the roots, and gently press to fix the distribution of the roots.
2. Wrapping the Outer Layer: Hold the plant with your left hand, and use your right hand to take a small amount of sphagnum moss to wrap the roots layer by layer from bottom to top, pressing gently while wrapping to fill the gaps, avoiding hollows or being too tight.
3. Adjusting the Shape: Wrap it into a short and plump bun shape. After putting it into the flower pot, gently press the sphagnum moss along the inner wall of the pot to the bottom, so that the base of the pseudobulb is exposed by 1-2 cm to ensure good air permeability and prevent the stems from being stuffy.
Key reminder: After repotting, place it in a place with scattered light and do not water it within 1 week. Spray it daily to increase humidity; after the 2-3 week seedling recovery period, water it when you observe that the sphagnum moss turns white, and avoid making the sphagnum moss too wet to prevent root rot.
In short, by mastering the above techniques, you can make your Phalaenopsis orchid rejuvenate in the new environment and bloom again every year!
How to change the sphagnum moss of Phalaenopsis?
Share with
Tagged in :

Leave a Reply