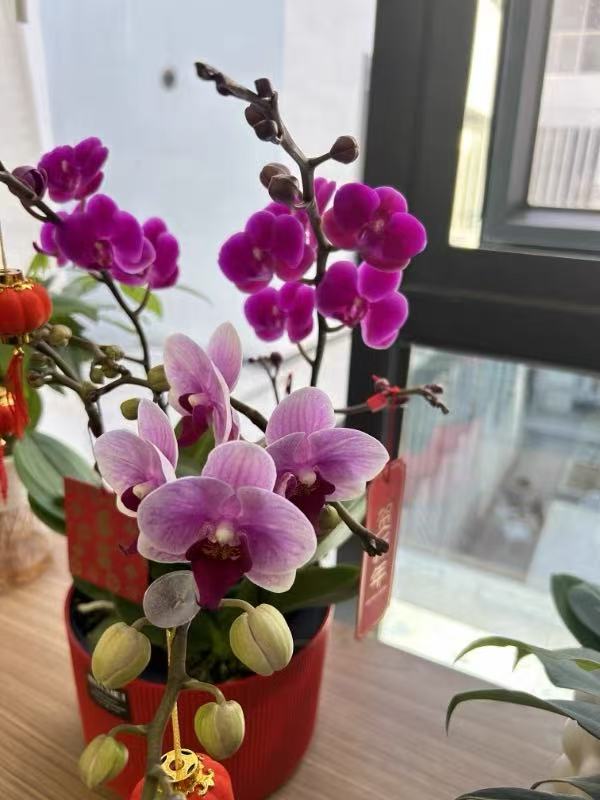
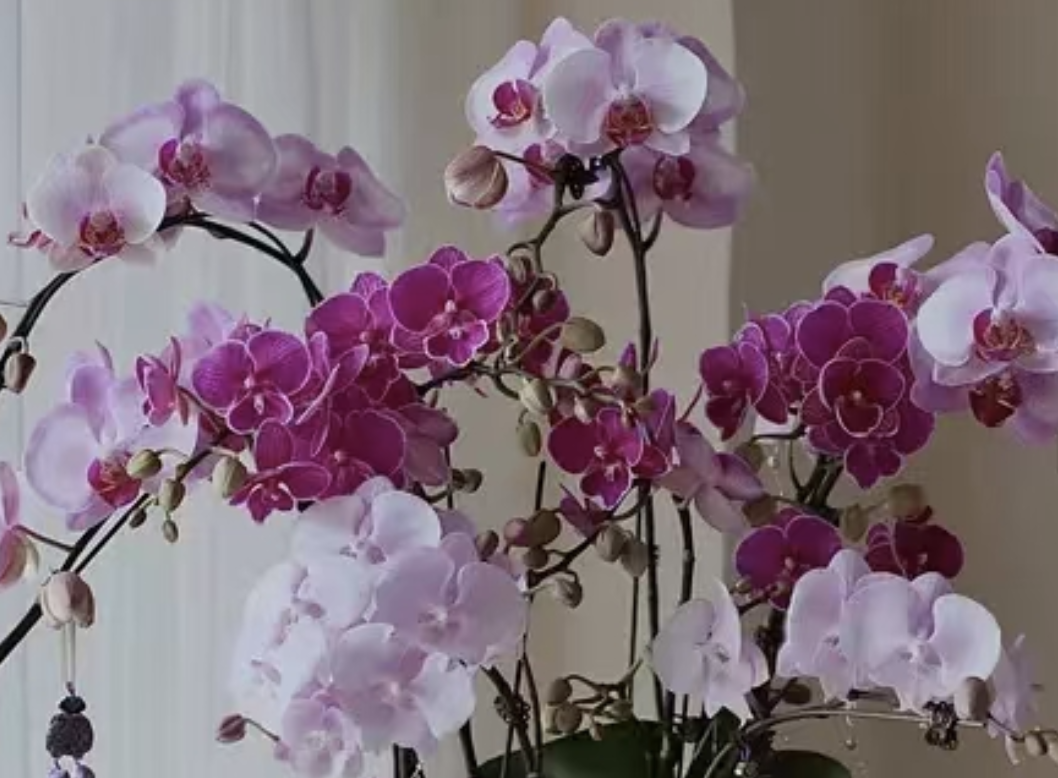
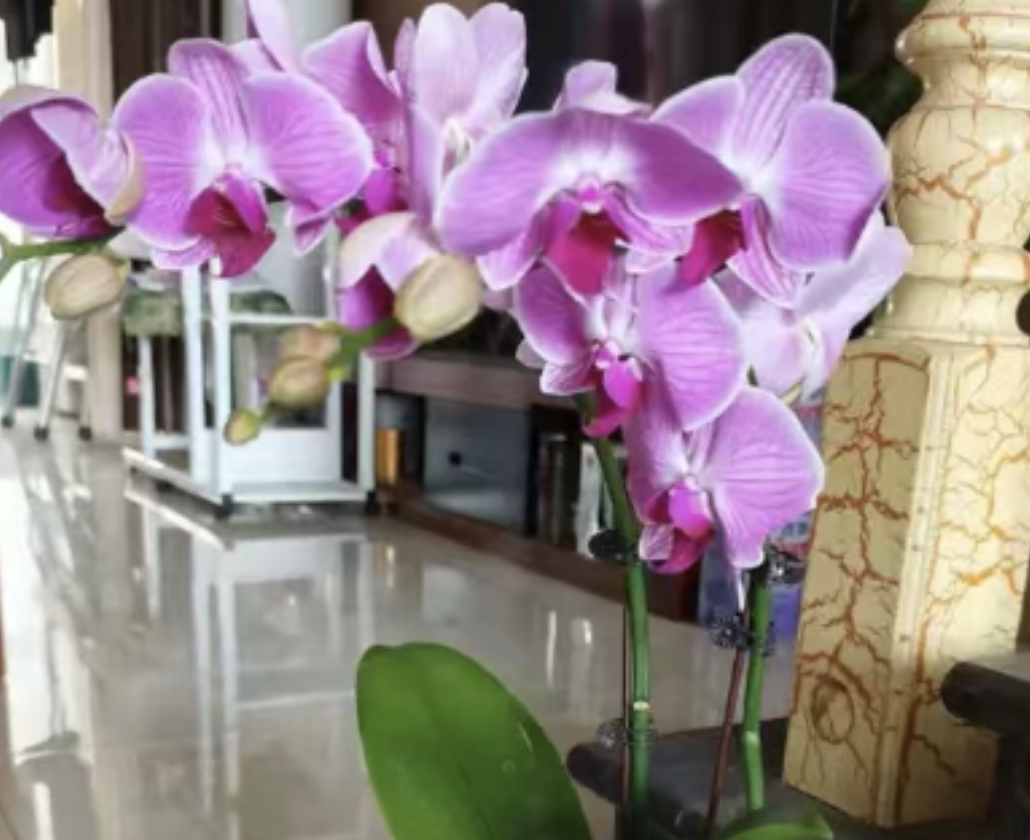
Phalaenopsis is a favorite among many flower enthusiasts. To create a potted arrangement of Phalaenopsis that is both beautiful and stable, certain techniques and steps need to be mastered. The following will introduce in detail how to create an aesthetically pleasing potted Phalaenopsis arrangement and how to fix it.
Key Steps to Create a Beautiful Potted Arrangement of Phalaenopsis:
Selecting Flower Materials:
Degree of Bloom: Choose at least four Phalaenopsis with similar degrees of bloom to ensure the potted plant looks vibrant.
Height: According to the size of the selected flower pot and the overall styling requirements, choose flower materials with similar heights. Maintain a sense of hierarchy while also paying attention to harmony.
Orientation: Pay attention to the blooming direction of the flower materials. Try to ensure that the flowers face neatly to enhance the beauty of the potted plant.
Conceptual Design:
Before getting started, first conceive the overall outline of the potted plant, the layout of the flower materials, and possible green plant combinations to ensure a clear sense of hierarchy and symmetrical beauty.
Preparing the Container:
Select a flower pot of the appropriate size. For example, a 2.8 - inch Phalaenopsis is usually paired with a flower pot with a diameter of 11 - 12 cm and a height of 11 - 12 cm. The color of the flower pot can also be matched with the color of the Phalaenopsis to enhance the overall visual effect.
Arranging the Flower Materials:
Arrange the Phalaenopsis from the back to the front, adjust the height appropriately to make the assembled flower shape less likely to deform. You can arrange them in a fan - shaped, circular, or other favorite shapes.
Adding Decorations:
You can add green plants or other decorations around the flower materials, such as small stones, moss, etc., to add a natural atmosphere and a sense of hierarchy.
Fixing Methods for Potted Arrangement of Phalaenopsis:
Elevating the Pot Bottom: To make the potted plant more stable, you can place a foam board at the bottom of the flower pot and adjust the height as needed.
Fixing the Flower Materials: Use a stiff wire or thin string to pass through the nutrient pot of the Phalaenopsis and fix it to the foam board in the pot. Be gentle and firm when fixing to avoid damaging the flower materials. You can use wire clips or transparent tape to further fix the flower stalks to ensure the stability of the flower materials. Transparent tape is not only beautiful but also reduces damage to the flower materials.
Adjusting the Layers: During the fixing process, continuously adjust the layers and positions of the flower materials to ensure the beauty and harmony of the overall shape. You can add or remove flower materials in a timely manner to achieve the best effect.
Filling with Soil: Fill the flower pot with soil around the flower materials. Note not to compact the soil to avoid affecting the respiration and growth of the Phalaenopsis. Keep the soil loose and breathable.
Maintenance and Management after Potted Arrangement
The Phalaenopsis after potted arrangement needs careful maintenance to ensure its healthy growth. This includes appropriate temperature control, proper water supply, reasonable fertilization, and pest control. Only by doing these maintenance tasks well can the potted Phalaenopsis maintain its long - lasting beauty and vitality.
Through the above steps and techniques, you can easily create a beautiful and stable potted Phalaenopsis. Whether it is placed at home for decoration or given as a gift to relatives and friends, it can show your taste and thoughtfulness.
How to Create a Beautiful Potted Arrangement of Phalaenopsis?

Share with
Tagged in :


Leave a Reply