
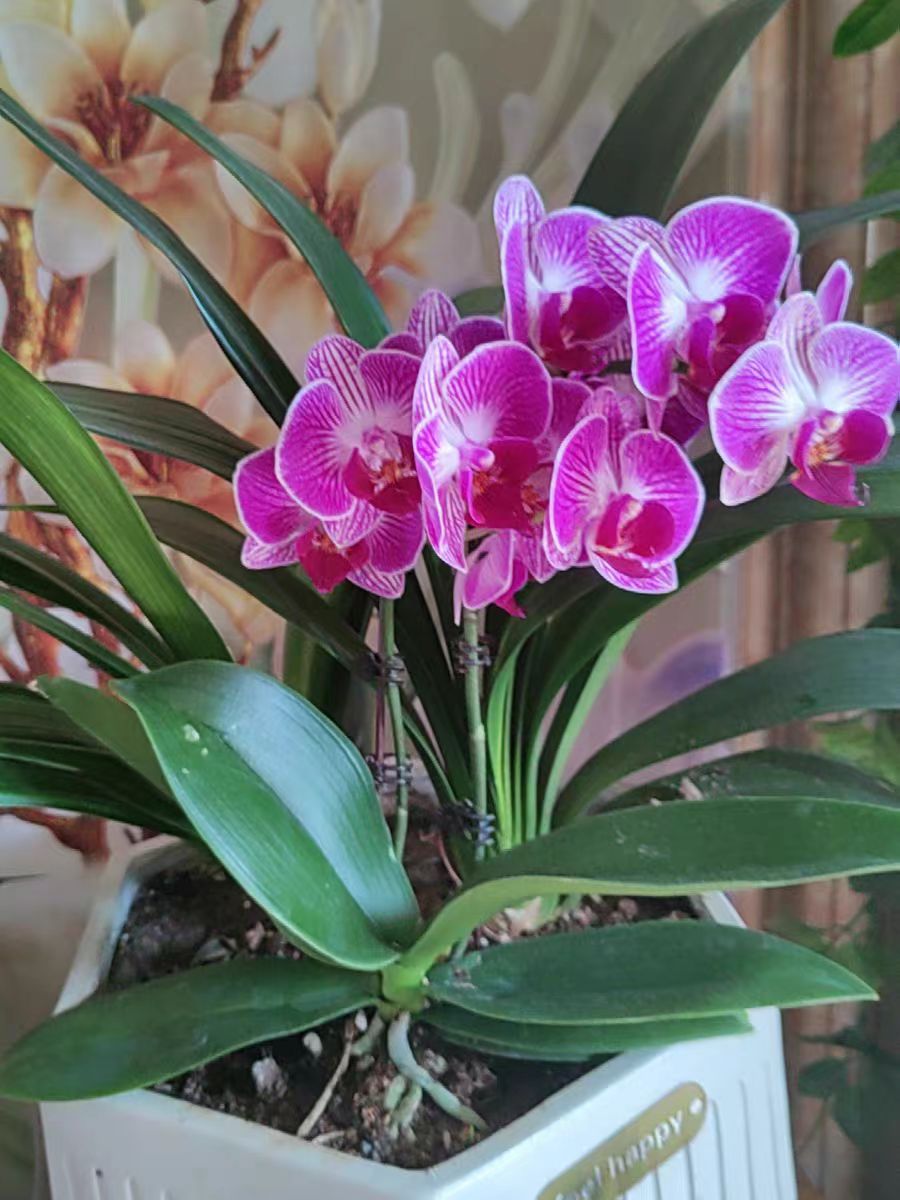
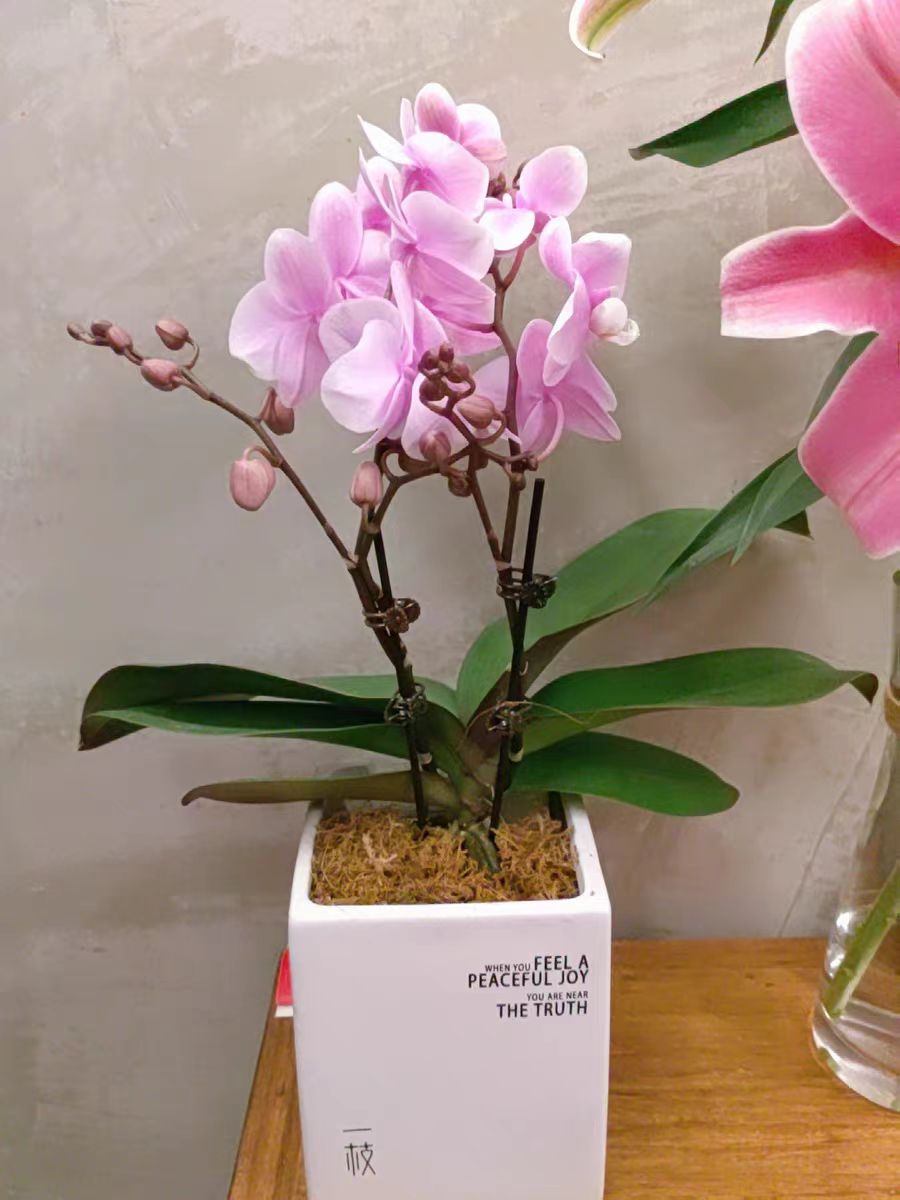
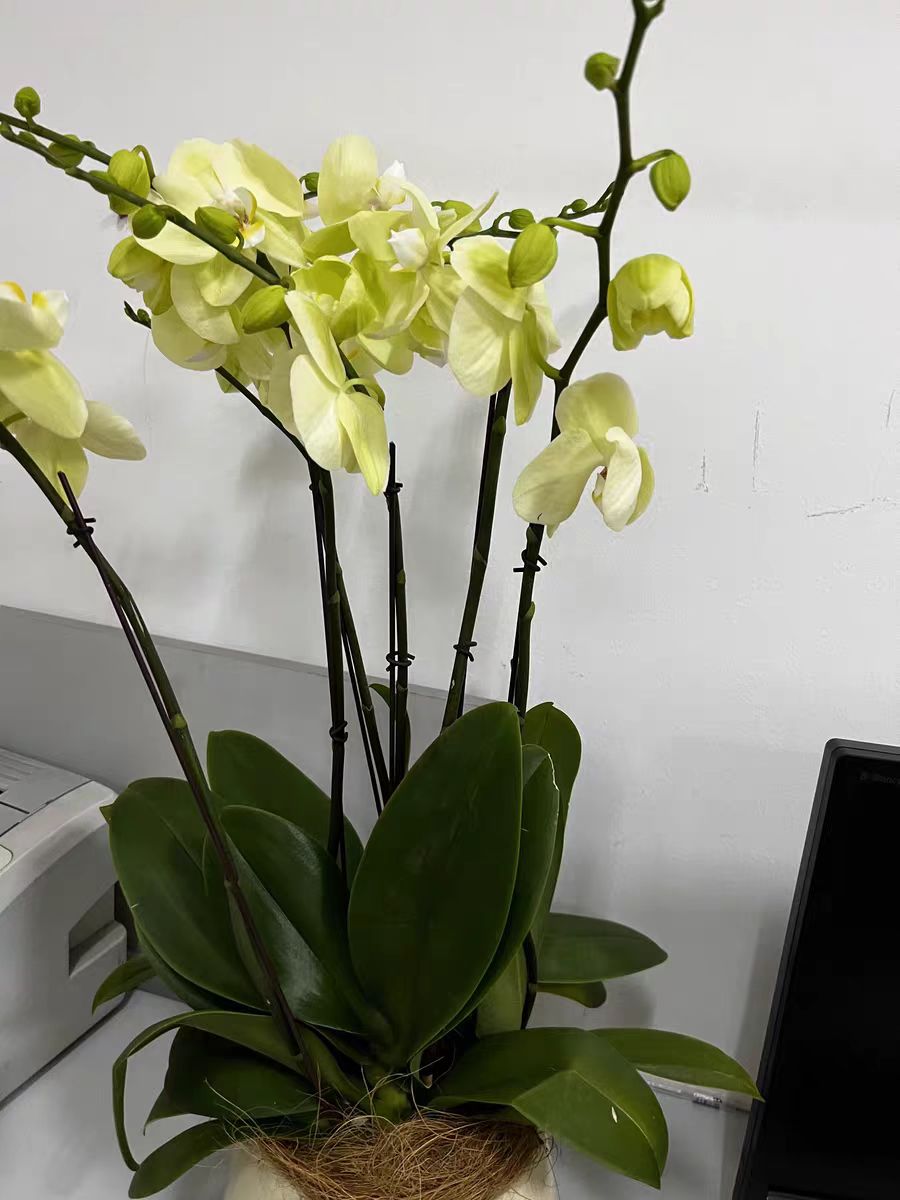
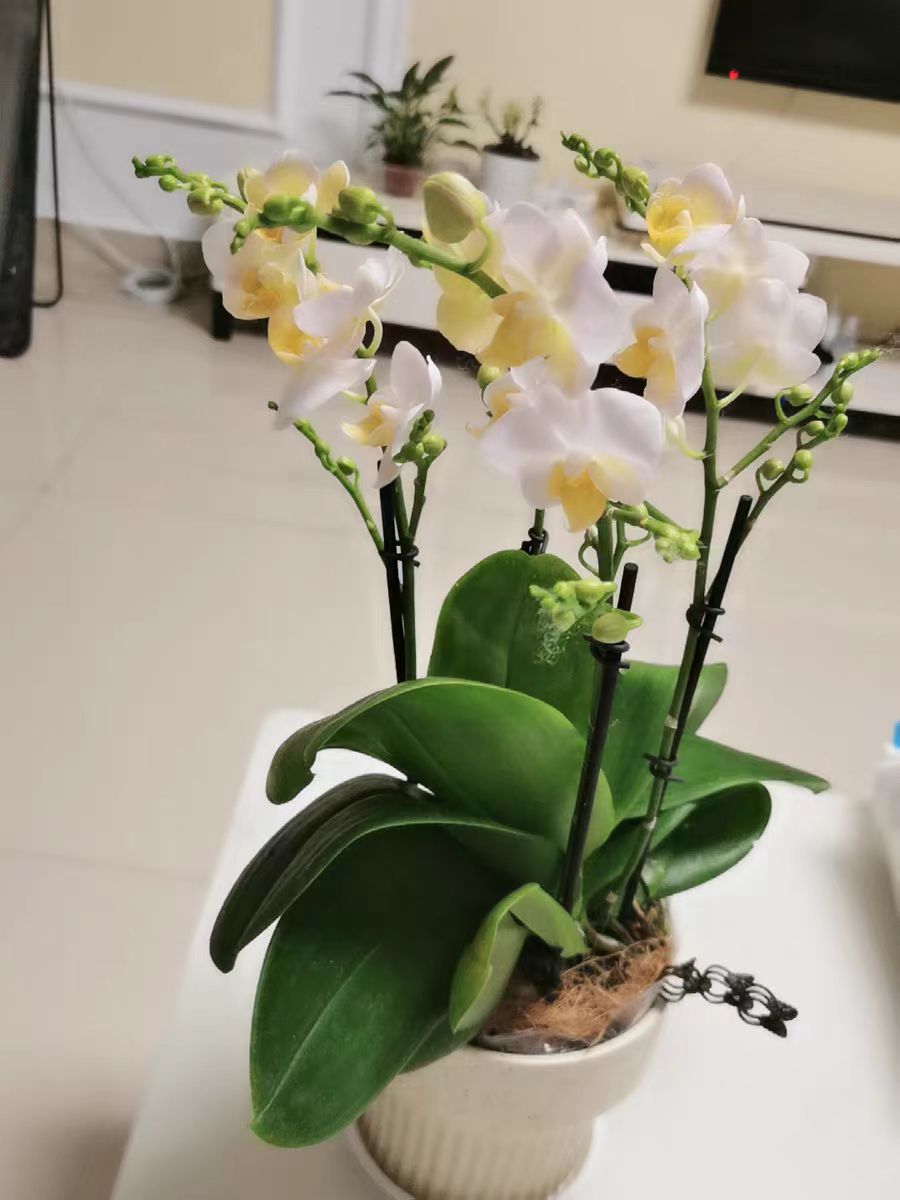
Phalaenopsis orchids are known as the "Queen of Orchids". They have beautiful flower shapes and gorgeous colors. However, many people affect their growth due to improper management after potting Phalaenopsis orchids in the soil. Only by mastering the correct methods can they grow healthily in the pot and bloom as scheduled.
Light Requirements: Phalaenopsis orchids have special requirements for light. They prefer diffused light and should avoid direct strong light. In the initial stage after planting in the soil, the plants are relatively fragile and should be placed in a place with bright diffused light, such as a position indoors near the window where the sunlight does not directly shine. As the plants grow, the light exposure time can be gradually increased. However, when the light is too strong in summer, a shading treatment of 50%-70% must be carried out. Otherwise, the leaves are easily burned, showing yellow spots or even drying out. Insufficient light will make the plants grow slowly and the flower colors dim. In spring, autumn, and winter, Phalaenopsis orchids can receive more gentle sunlight to promote photosynthesis and accumulate nutrients.
Temperature Control: Phalaenopsis orchids are suitable for growing in a warm environment, and the most suitable temperature is between 15°C and 28°C. After planting in the soil, it is necessary to pay attention to the changes in the environmental temperature at all times. In summer, when the temperature is too high and exceeds 32°C, the growth of Phalaenopsis orchids will be inhibited. Cooling measures should be taken, such as strengthening ventilation and spraying water on the surrounding ground. In winter, it is necessary to do a good job of keeping warm. When the temperature is lower than 10°C, the plants are easily damaged by frost. They can be moved to a warm indoor environment, and if necessary, heating equipment can be used to maintain the appropriate temperature. A certain temperature difference between day and night is more conducive to the accumulation of nutrients and the growth of the plants. Generally, a temperature difference of 5°C to 8°C is appropriate.
Water Management: Watering is a key link in the management of potted Phalaenopsis orchids. After planting in the soil, watering should not be done blindly. Follow the principle of "water when the soil is dry and see it wet". Insert your finger 2-3 centimeters into the potting soil. If it feels dry, it is necessary to water. Water thoroughly so that the water flows out from the drainage holes at the bottom of the pot, but there should be no waterlogging, otherwise, it is easy to cause root rot. The watering frequency varies in different seasons. In summer, due to the high temperature and fast water evaporation, water once every 2-3 days. In winter, due to the low temperature and slow growth of the plants, watering once every 7-10 days is enough. In addition, air humidity is also very important for the growth of Phalaenopsis orchids. It is advisable to keep the air humidity between 60% and 80%. You can increase the air humidity by spraying water around the plants or using a humidifier.
Fertilization: After Phalaenopsis orchids are planted in the soil, reasonable fertilization can promote their growth. During the vigorous growth period, such as in spring and autumn, apply a thin liquid fertilizer every 1-2 weeks, mainly nitrogen fertilizer, with an appropriate amount of phosphorus and potassium fertilizers to promote the growth of branches and leaves. Before the flowering period, increase the amount of phosphorus and potassium fertilizers, such as potassium dihydrogen phosphate, diluted into a solution of 1000-1500 times. Spray the foliar fertilizer or apply it to the roots every 7-10 days, which can promote flower bud differentiation, increase the number of flowers and the flower color. When the temperature is too high in summer and too low in winter, the plants grow slowly or go dormant, and fertilization should be reduced or stopped to avoid fertilizer damage caused by the accumulation of fertilizers.
Daily Inspection and Pest and Disease Control: Regular inspection of Phalaenopsis orchid plants is very necessary. Check whether there are signs of yellowing, drying, pests, and diseases on the leaves, and find and deal with problems in a timely manner. Common diseases of Phalaenopsis orchids include anthracnose and soft rot, which are mostly caused by poor ventilation and high humidity. Keeping the maintenance environment well-ventilated and reducing the air humidity can effectively prevent the occurrence of diseases. In the early stage of the disease, cut off the diseased leaves in a timely manner and spray fungicides such as carbendazim and thiophanate-methyl for prevention and treatment. Common pests include spider mites and aphids, etc. Insecticides such as imidacloprid and abamectin can be used for spraying prevention and treatment. Pay attention to diluting and using them according to the instructions to avoid damaging the plants due to too high a concentration.
Precautions for Repotting:
Phalaenopsis orchids grow relatively fast, and it is generally necessary to repot them once every 1-2 years. The best time for repotting is after the flowers fade in spring, at which time the plants have a strong ability to resume growth. When repotting, gently take out the plants and remove part of the old substrate, being careful not to damage the roots. Select a slightly larger pot with good air permeability and fill it with a new substrate, such as moss, bark, etc. After repotting, water thoroughly and place the plants in a cool and ventilated place for about a week to slow down the seedlings, and then gradually resume normal maintenance.
The management of potted Phalaenopsis orchids after planting in the soil requires flower lovers to take good care of them carefully. Attention should be paid to aspects such as light, temperature, water, fertilization, and pest and disease control. Only in this way can Phalaenopsis orchids thrive in the pot and bring us the beautiful scene of blooming flowers.
How to Manage Potted Phalaenopsis Orchids After Planting Them in the Soil?
Share with
Tagged in :
Leave a Reply