
When you buy fresh flowers and bring them home, do you often encounter the situation where they wilt the next day? Today, I'll teach you a super practical root-scalding method for keeping flowers fresh. It's easy to operate and can extend the blooming period of the flowers.
**I. Why Do We Need to Scald the Roots?**
When the temperature is high, fresh flowers are particularly prone to dehydration. The flower heads wilt and droop easily.
**II. The Principle of Root-Scalding**
Simply put, it is to "scald" the bottom of the flower stem with hot water. The high temperature can instantly seal the flower stem, preventing bacteria from getting in. It can also lock in the moisture and prevent the flower stem from rotting.
**III. The Method of Root-Scalding**
1. Prepare the Tools
Find a container that can submerge about 5 to 8 centimeters of the flower stem. Boil a pot of water and let it cool for a while. The water temperature should be such that it feels a bit hot but not too hot to touch.
Remember to remove the leaves from the flower materials first. Only leave 1 to 2 leaves at the top and remove all the leaves below. Otherwise, they will easily rot if soaked in water!
2. The Skill of Trimming the Roots
Cut the bottom of the flower stem obliquely, about 3 to 5 centimeters long, at an angle of 45 degrees. If it is a flower with a thick stem like a rose, you can make a few vertical cuts.
3. The Duration of Root-Scalding
For small herbaceous flowers: Put the flower stem in hot water for 10 to 15 seconds, and then take it out and soak it in cold water for 30 seconds.
For woody flowers: Scald for 20 to 30 seconds. Stop when you see the cut turn white and some sticky substance come out. Similarly, rinse it with cold water.
Attention! Don't let the flower head touch the hot water vapor when scalding, otherwise the petals will turn yellow! Don't scald too many at once. Do it one or two at a time slowly, and don't let the water temperature drop too quickly.
4. Arranging in the Vase and Maintenance
Wash the vase clean, fill it with one-third of water, and add a spoonful of flower preservative.
Don't arrange the flowers too tightly in the vase. Leave some space for ventilation, otherwise they will easily get stuffy and damaged.
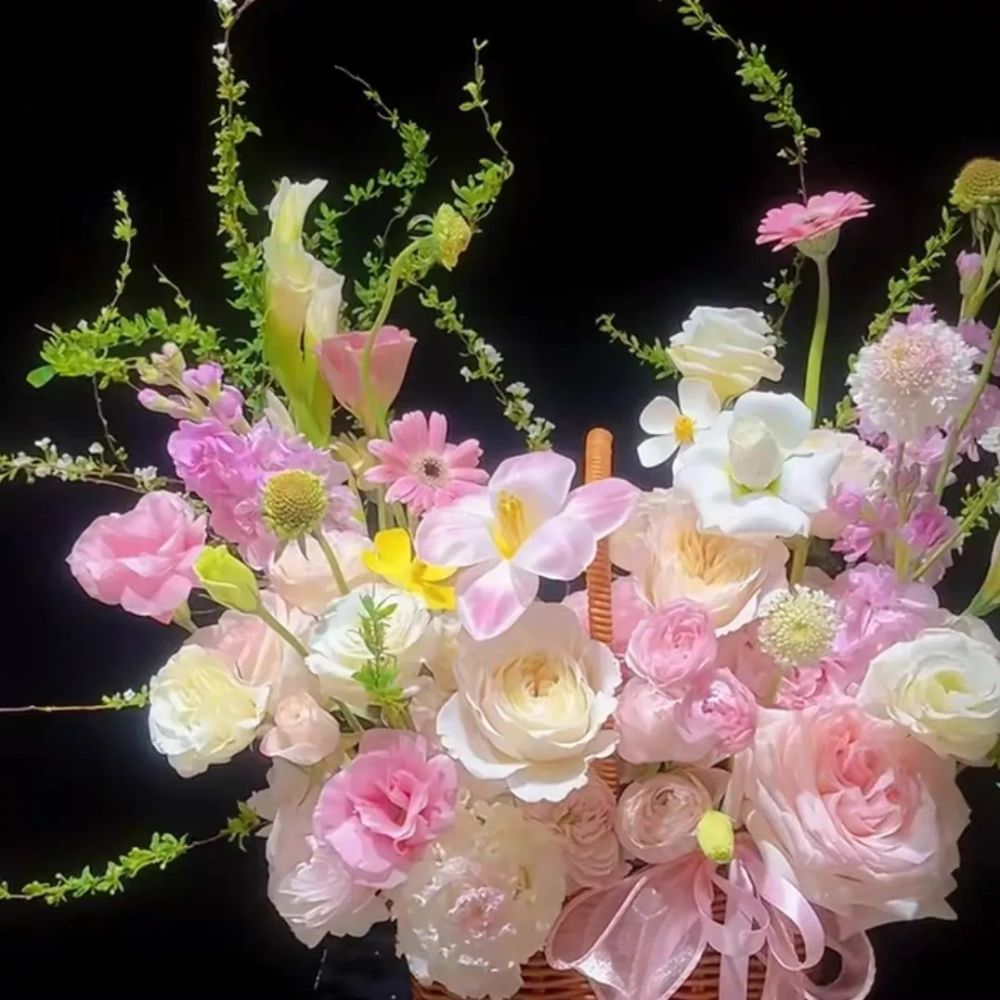
**IV. Flowers Suitable for Root-Scalding**
- Hydrangeas, peonies, and tree peonies: Without root-scalding, the stems are prone to rotting. After scalding, they can stay upright for several days.
- Roses and Chinese roses: After scalding the roots of roses with thick stems, the cut is not easy to turn black, and the water is not easy to smell bad.
- Sunflowers and carnations: The soft flower stems are prone to rotting. Scalding them can make them stand upright.
**V. Precautions for Root-Scalding**
1. Don't Make the Water Temperature Too High
Don't use the water that has just been boiled, especially for small herbaceous flowers. Woody flowers can tolerate a slightly higher temperature, while for small herbaceous flowers, lukewarm water is enough.
2. Don't Scald for Too Long
For beginners, remember the principle of "it's better to be short than long". For example, 10 seconds of scalding is enough for hydrangeas. If scalded for too long, the flower stem will become soft and won't be able to absorb water.
3. Change the Water Regularly for Better Preservation
Change the water every day in summer and every 2 to 3 days in winter. When changing the water, rinse the bottom of the flower stem clean, otherwise the mucus will make the water smell bad.
The root-scalding method is really useful, especially suitable for dehydrated flowers bought online and flowers with thick stems. Try it the next time you receive flowers. Remember to control the water temperature and time well, and it will be easy to make the fresh flowers bloom for one more week.
What is the principle of the root - scalding method?
Share with
Tagged in :

Leave a Reply